
Images make your blog posts more engaging, break up long blocks of text, and help readers understand your content better. But here is the problem — if you do not optimise your images properly, they can slow down your site, hurt your SEO, and drive visitors away.
In this guide, you will learn how to optimise blog images for both SEO and page speed. These are practical, actionable tips that work for UK bloggers using WordPress in 2026. No fluff, just what you need to know.
Why Image Optimisation Matters for UK Bloggers
Google considers page speed as a ranking factor. If your images are too large, your pages will load slowly, especially on mobile devices. In the UK, where fast internet is common but mobile browsing is even more common, a slow site can seriously hurt your traffic.
Beyond speed, optimised images help your blog appear in Google Image Search, which can be a significant source of traffic. Properly tagged and compressed images send positive signals to search engines and improve your overall on-page SEO.
Step 1: Choose the Right Image Format
Not all image formats are created equal. Here is a quick breakdown of what to use and when:
JPEG
Best for photographs and complex images with lots of colours. JPEG files can be compressed heavily without a noticeable loss in quality. Most blog photos should be saved as JPEG.
PNG
Best for images with text, logos, screenshots, or graphics that need a transparent background. PNG files are larger than JPEGs, so use them sparingly on your blog.
WebP
Google’s modern image format. WebP files are significantly smaller than both JPEG and PNG while maintaining similar quality. WordPress now supports WebP natively, and it is widely supported across all major browsers. If you are not using WebP yet, 2026 is the year to start.
AVIF
A newer format with even better compression than WebP. Support is growing, but it is not universal yet. Test carefully before switching entirely.
Step 2: Resize Images Before Uploading
Uploading a 4000px-wide photo directly from your camera is one of the fastest ways to slow down your blog. Most blog content areas are between 800px and 1200px wide. There is no reason to upload images larger than that.
Resize your images before uploading them to WordPress. Aim for:
- Featured images: 1200px wide
- In-content images: 800px to 1000px wide
- Full-width images: 1920px wide maximum
You can resize images using free tools like Photoshop Express, GIMP, or online tools like TinyPNG and Squoosh.
Step 3: Compress Your Images
Compression reduces file size without changing dimensions. There are two types:
- Lossy compression — Slightly reduces quality to achieve much smaller file sizes. Usually, the difference is invisible to the human eye.
- Lossless compression — No quality loss, but less file size reduction.
For blog images, lossy compression is almost always the better choice. Aim for files under 100KB for standard in-content images and under 200KB for featured images.
Recommended free compression tools:
- TinyPNG / TinyJPG — Excellent for batch compression
- Squoosh — Google’s tool with side-by-side comparison
- ShortPixel — WordPress plugin with automatic compression
- Smush — Popular free WordPress plugin
Step 4: Use Descriptive File Names
Before you upload an image, rename the file from something like IMG_4821.jpg to something descriptive like uk-blogger-comparison-post-example.jpg. This helps Google understand what the image is about and can improve your image search rankings.
Use hyphens between words, keep it concise, and include your target keyword naturally where it makes sense.
Step 5: Write Good Alt Text
Alt text (alternative text) is one of the most important image SEO elements. It serves two purposes:
- It helps visually impaired readers understand what the image shows (screen readers read alt text aloud).
- It helps Google index and rank your image in search results.
Good alt text is descriptive but not keyword-stuffed. For example, instead of “blogging tips” (too vague), write “UK blogger typing on laptop at home office desk” (specific and descriptive).
For more on optimising every element of your posts, check our guide on writing SEO-friendly blog posts.
Step 6: Add Captions and Title Attributes
Captions appear below your image and are visible to readers. They can provide context and keep people engaged. Title attributes appear as tooltips when someone hovers over an image — they have minor SEO value but are good for usability.
In WordPress, you can set all of these fields when you upload an image or later in the Media Library. Taking an extra 30 seconds per image can make a real difference over time.
Step 7: Enable Lazy Loading
Lazy loading means images only load when they are about to appear on the user’s screen. This dramatically improves initial page load speed because the browser does not download images that the reader has not scrolled to yet.
WordPress has built-in lazy loading since version 5.5, so most sites already have it enabled. But if you use a caching plugin like WP Rocket, W3 Total Cache, or LiteSpeed Cache, make sure lazy loading is configured correctly for your theme.
Step 8: Use a Content Delivery Network (CDN)
A CDN stores copies of your images on servers around the world. When someone in Manchester visits your blog, the image is served from a server close to them, not from your hosting provider in another country.
Many WordPress optimisation plugins include CDN functionality. Services like Cloudflare offer free CDN plans that work brilliantly for UK bloggers. Combined with proper image compression, a CDN can cut your page load times in half.
Step 9: Serve Images in Next-Gen Formats
If your hosting and WordPress setup allow it, serve images in WebP format. Many caching plugins can automatically convert your uploaded JPEGs and PNGs to WebP while keeping the originals as fallback for older browsers.
This is one of the biggest wins for WordPress page speed. Switching to WebP can reduce image file sizes by 25 to 35% without any visible quality loss. Combined with proper compression, you can have beautifully crisp images that load in under a second.
Step 10: Image Sitemaps for Better Indexing
Google needs to know about your images to index them. An image sitemap tells Google directly which images are important on your site. The Yoast SEO and Rank Math plugins both include image sitemap functionality. Make sure it is enabled.
You can also add structured data (schema markup) to your images, which can help them appear as rich results in Google Image Search.
WordPress Plugins for Image Optimisation
If you do not want to manually optimise every image, these WordPress plugins can automate most of the process:
- ShortPixel — Compresses images on upload, converts to WebP, and works with existing media library images.
- Smush — Free and popular. Compresses images, enables lazy loading, and offers bulk optimisation.
- Imagify — Created by the team behind WP Rocket. Three levels of compression and WebP conversion.
- EWWW Image Optimizer — Free plugin with no external API calls needed. Good for smaller budgets.
Whichever plugin you choose, set it to automatically compress images on upload. That way, you never have to think about it again.
How to Check If Your Images Are Optimised
Before you hit publish on a post, run it through a few checks:
- PageSpeed Insights — Google’s free tool shows you exactly how much your images are slowing down your site.
- GTmetrix — Detailed waterfall charts showing which images take longest to load.
- Pingdom Tools — Simple page speed test with image-specific recommendations.
- Lighthouse — Built into Chrome DevTools. The “Properly size images” and “Serve images in next-gen formats” audits are very useful.
If any of these tools flag your images, go back and compress, resize, or reformat them. A few minutes of work can save your readers from waiting several extra seconds.
Common Image Mistakes UK Bloggers Make
- Uploading huge original files — Never upload a photo straight from your camera or phone without resizing first.
- Skipping alt text — Every image needs alt text. Do not leave it blank.
- Using too many images — More images = more HTTP requests. Be intentional about which images you include.
- Ignoring mobile performance — Check how your images look and load on mobile devices. Most UK readers use phones.
- Forgetting to update old posts — Go back and optimise the images in your older posts. The traffic gains can be significant.
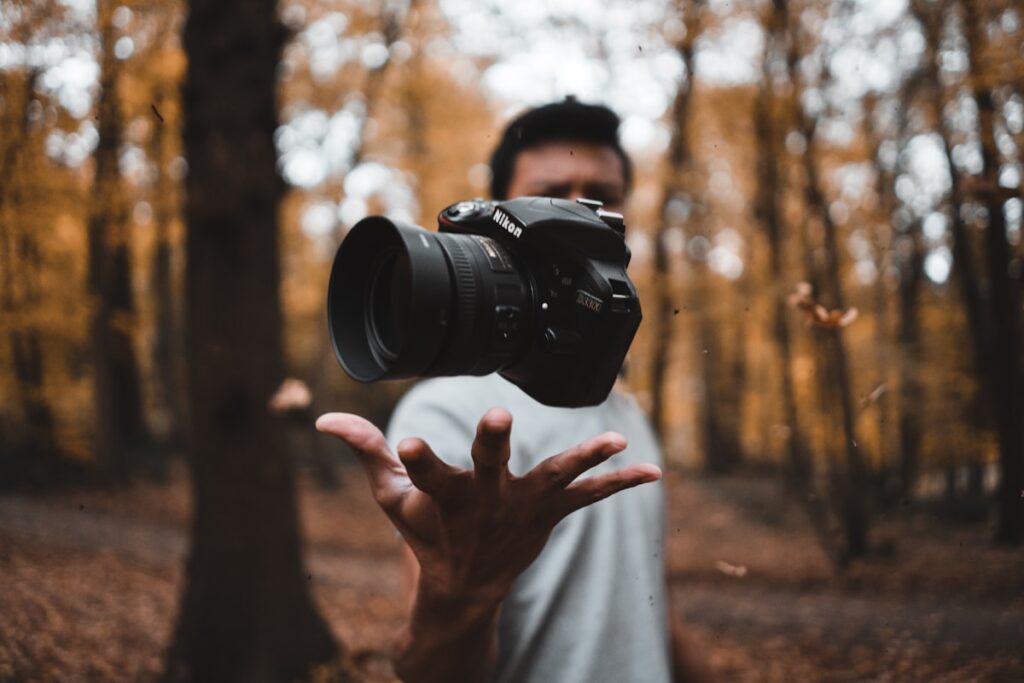
For a deeper look at how to take great photos in the first place, read our guide to blog photography for UK bloggers. Starting with well-shot photos makes the optimisation process much easier.
Final Thoughts
Optimising your blog images does not have to be complicated or time-consuming. By following the ten steps in this guide, you can dramatically improve your site speed, boost your image search rankings, and give your readers a better experience.
Start with resize and compression — those two steps alone will make a noticeable difference. Then work your way through alt text, WebP conversion, and lazy loading. Over time, these habits will become second nature, and your blog will thank you for it.
Remember: every second of loading time counts. A faster blog means happier readers, better SEO, and more traffic from Google.