
Why Blog Photography Matters More Than You Think
Let me be honest with you. When I started blogging, I thought photos were just decoration. Something to break up the text and make the page look less boring. I was wrong.
Good photos do so much more. They grab attention on social media. They keep people reading your post. They make your blog look professional and trustworthy. And they can even help you rank in Google image search, which is a whole extra source of traffic.
The good news? You do not need to be a designer or spend hundreds on gear. You just need to know a few simple tricks. This guide will show you how to take better photos and edit them like a pro, all without blowing your budget.
Taking Great Blog Photos With What You Already Have
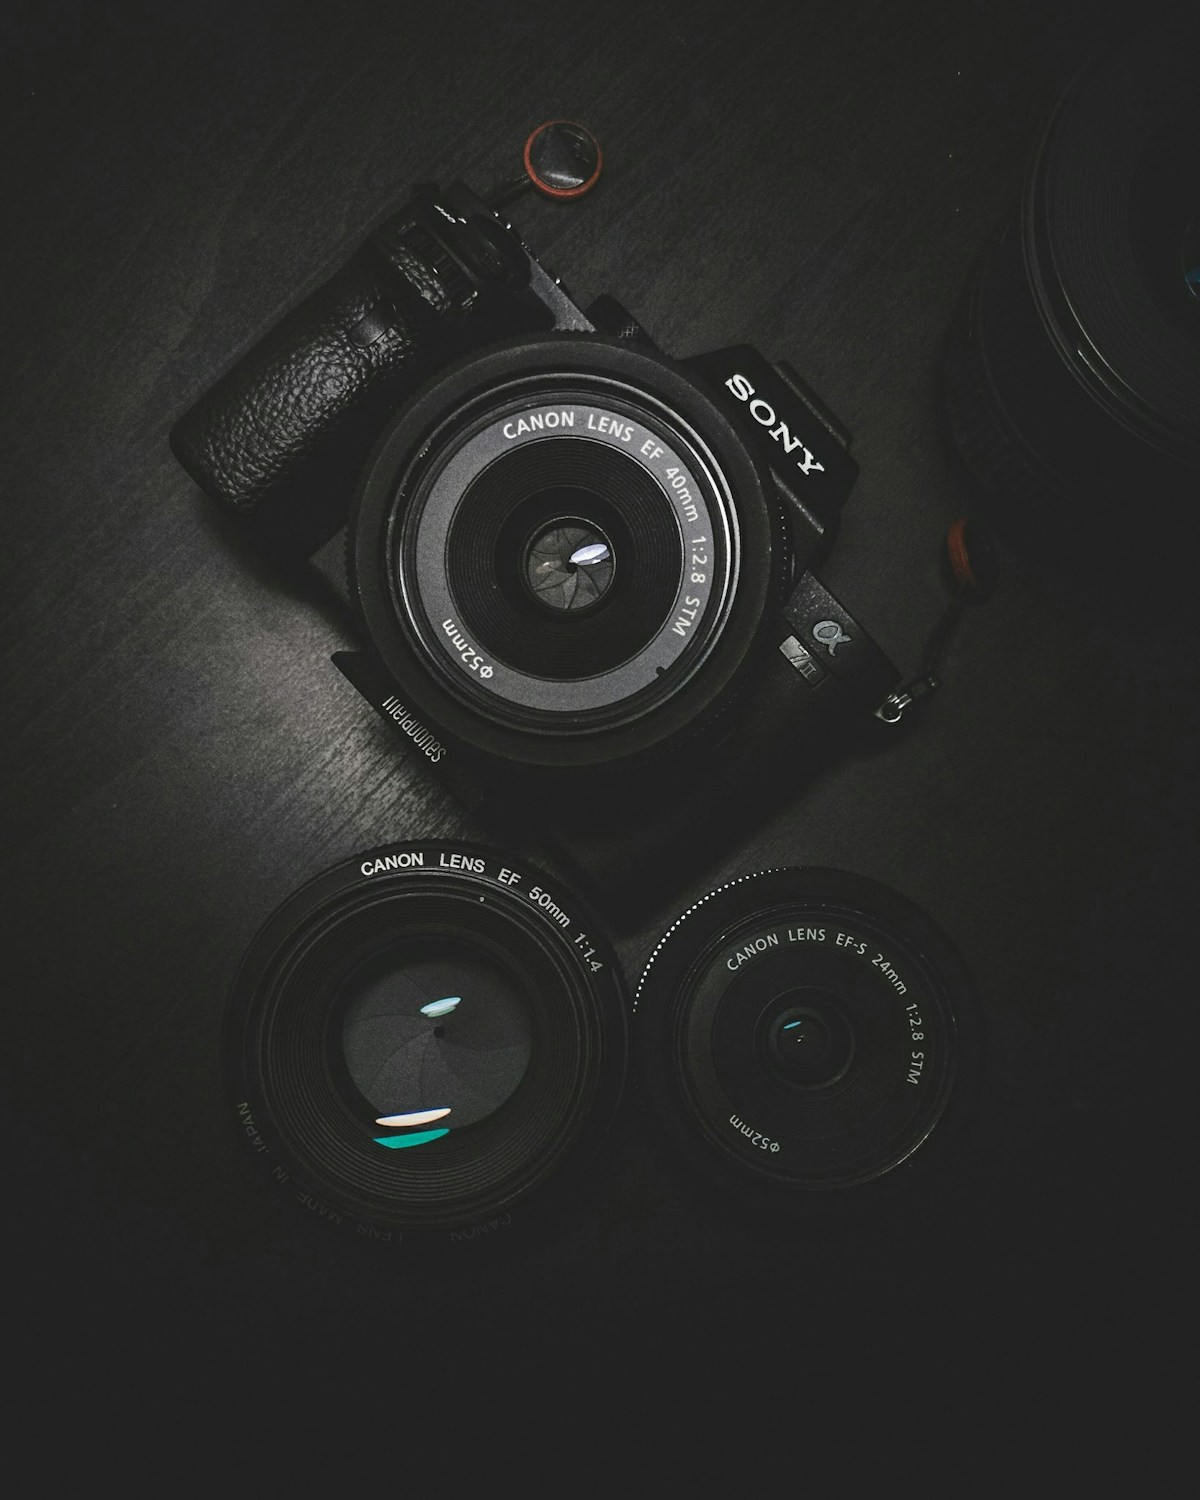
You probably already own a decent camera. It is the one in your pocket. Modern smartphone cameras are surprisingly good. Unless you shoot in very low light or need super detailed product shots, your phone will do the job just fine.
Lighting is Everything
This is the single most important thing to learn about photography. Good lighting can make an average photo look great. Bad lighting can ruin even the most expensive camera setup.
- Use natural light – Shoot near a window during the day. Soft, diffused light from a window makes everything look better.
- Avoid harsh shadows – Direct sunlight creates harsh shadows. On sunny days, pull a thin curtain across or shoot in the shade.
- Try the golden hour – The hour after sunrise and the hour before sunset give you warm, flattering light that makes any photo look amazing.
- Buy a cheap reflector – A 5 white foam board from The Range or Hobbycraft works perfectly as a reflector to bounce light onto your subject.
Composition Tricks That Always Work
You do not need to study design theory to take well-composed photos. Just use these simple rules:
The rule of thirds. Imagine a 3×3 grid over your photo. Place your subject where the lines cross. This creates a more interesting composition than putting everything in the centre.
Negative space. Leave empty space around your subject. This works brilliantly for blog featured images because it gives you room for text overlays.
Flat lays. Take photos from directly above. Flat lays are perfect for blog photography, especially for lifestyle, food, and product content. Place items on a clean surface and shoot straight down.
Leading lines. Use lines in your scene (roads, fences, table edges) to draw the eye towards your subject.
For more practical tips, check out our earlier post on blog photography tips for UK bloggers without a fancy camera.
Editing Your Photos Without Photoshop
Even professional photographers edit their photos. Editing does not mean faking it. It means making your photo look its best. And you do not need expensive software to do it.
Free Editing Tools
Here are the best free options:
- Canva – The go-to tool for bloggers. You can crop, adjust colours, add text overlays, and resize images for different platforms. The free version is more than enough.
- Snapseed – Google’s free mobile app. It is surprisingly powerful. Great for quick fixes like brightness, contrast, and cropping on your phone.
- GIMP – A free desktop alternative to Photoshop. Has a steeper learning curve but can do almost everything Photoshop can.
- Pixlr – A browser-based editor that works like a simplified Photoshop. No download needed.
You can find more recommendations in our blogging tools guide for UK bloggers.
Quick Edits That Make a Big Difference
Even if you only have two minutes per photo, these adjustments will transform your images:
- Crop – Remove distractions from the edges. Tighten the frame around your subject.
- Brightness and contrast – Bump the brightness slightly and increase contrast to make colours pop.
- Warmth – Add a touch of warmth to make photos feel inviting. Most free editors have a temperature slider.
- Sharpen – A tiny bit of sharpening makes photos look crisper. Do not overdo it or they will look artificial.
- Straighten – Nothing looks more amateur than a slightly tilted horizon. Most editors have a straighten tool.
Setting Up a Photography Corner on a Budget
You do not need a studio. Here is how to create a simple photography area at home for under 20:
- A clean wall – Paint a section of wall white or use a large piece of white card as a background.
- A table near a window – Natural light is your best friend. Position your table so the window is to the side, not directly behind you.
- Props – Gather a few simple props. A wooden board, some greenery (real or fake), notebooks, and a cup of tea all work brilliantly for UK blog photography.
- A tripod – A cheap mini tripod for your phone costs about 10 on Amazon. It stops your photos being blurry and lets you use self-timer.
If you are just starting out and want to keep costs down, our blogging on a budget UK guide has more money-saving tips.
Optimising Your Photos for Your Blog
Once your photos look great, you need to get them onto your blog the right way. Large image files will slow your site down, which hurts both user experience and SEO.
Resize Before Uploading
Aim for a maximum width of 1200 pixels for featured images and 800 pixels for in-post images. Most free editing tools let you resize easily.
Use the Right File Format
JPEG is best for photographs because it keeps quality high and file size low. PNG is better for graphics with text but produces larger files. Stick to JPEG for your blog photos.
Always Add Alt Text
Alt text describes your image for screen readers and helps Google understand what the image shows. Write descriptive alt text that includes your target keyword naturally. For example, “A flat lay photo of a notebook, coffee, and fairy lights on a wooden desk” is much better than just “blog photo”.
For a complete guide on this, read our post about how to optimise blog images for SEO and page speed.
Creating Consistent Blog Graphics Using Canva Templates
One thing that separates pro blogs from amateur ones is consistency. When all your photos have the same style, your blog looks cohesive and intentional. Canva makes this easy.
Create a template for your featured images. Use the same font, the same colour palette, and the same layout every time. This does two things: it saves you time because you do not design from scratch each time, and it makes your brand recognisable. Readers scrolling through Pinterest or Google Images will start to recognise your photos.
Stick to two or three fonts and a palette of three to five colours. Canva has built-in colour palette generators that can pull colours from your photos, which is a great way to keep everything matching.
Where to Find Free Stock Photos (When You Cannot Take Your Own)
Sometimes you just cannot take your own photos. Maybe you are writing about a topic where you do not have the right props, or the weather is terrible and you cannot get good light. That is fine. Use stock photos.
Here are the best free stock photo sites:
- Unsplash – High-quality, handmade photos. The best option for bloggers.
- Pexels – Great variety, easy search.
- Pixabay – Huge library, though quality varies.
- Kaboompics – Has a warm, lifestyle feel that works well for blogs.
A quick tip: avoid the most obvious stock photos. If it looks like something a corporate website would use, skip it. Look for authentic, natural-looking images instead.
Final Thoughts
Good blog photography is not about having the best camera or being a trained designer. It is about understanding a few simple principles: good lighting, clean composition, basic editing, and consistency. Everything else is practice.
Start with what you have. Use your phone, use natural light, and spend ten minutes editing each photo in Canva or Snapseed. Over time, you will develop an eye for what works and your photos will get better without you even noticing.
Your blog readers will notice though. Good photos make your content more enjoyable, more shareable, and more professional. And the best part? It costs next to nothing.